How to spray Stencilled concrete
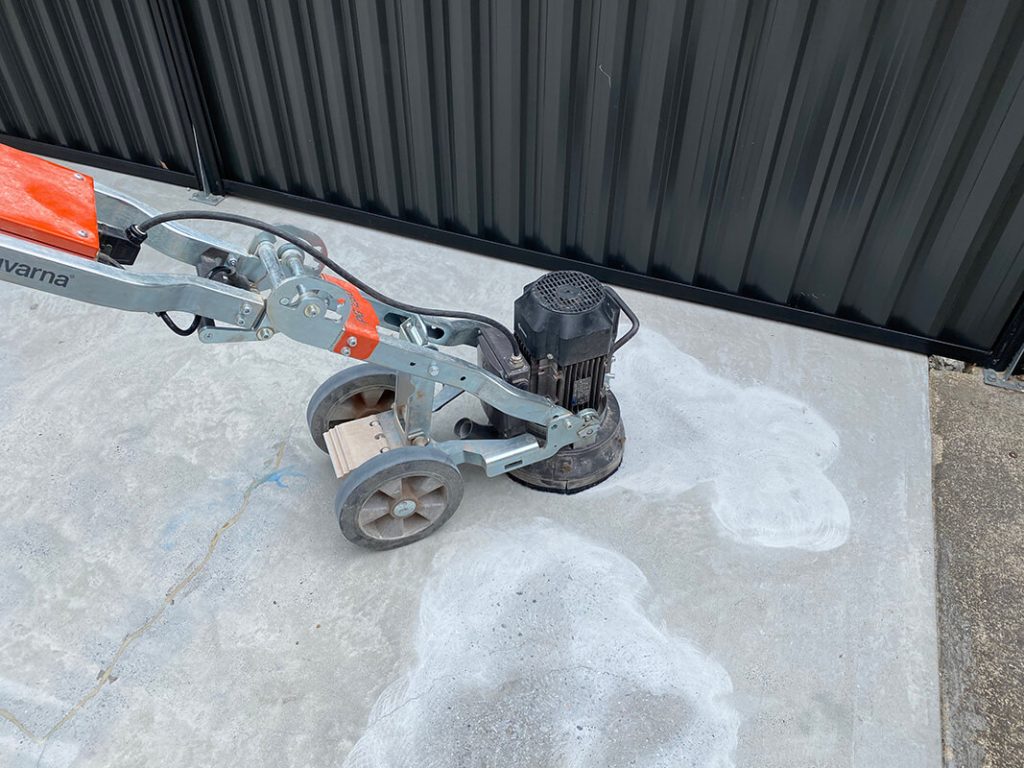
Step 1
Any major imperfections on the existing concrete will be ground prior to insure a smooth finished product.
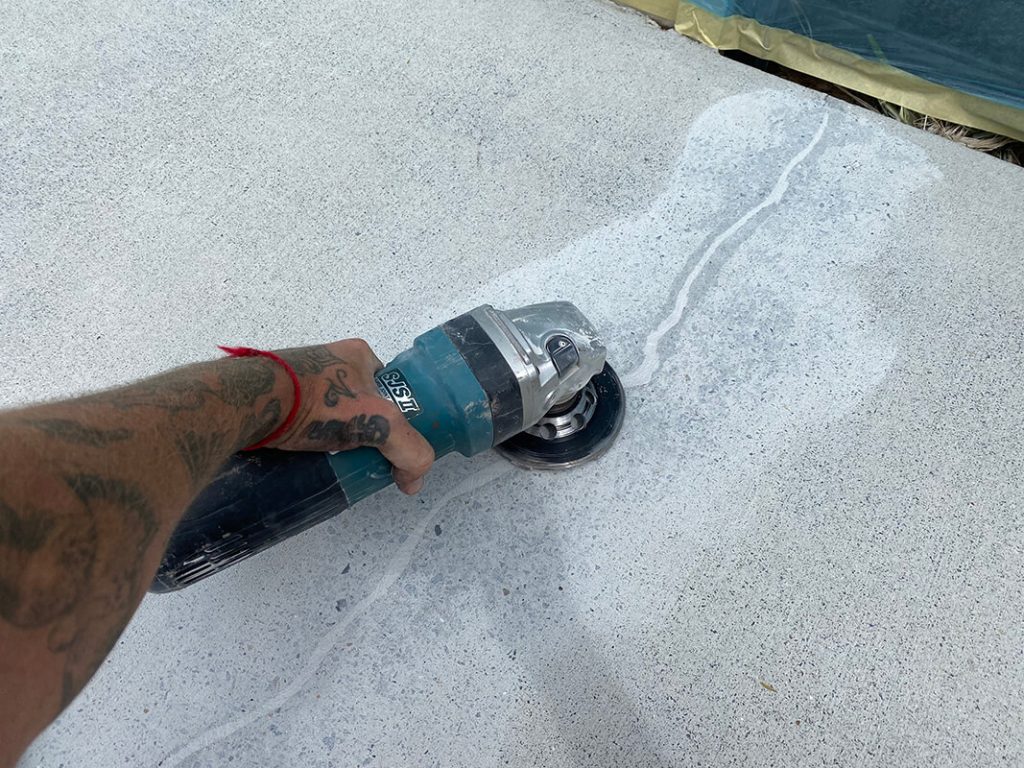
Step 2
Cracks are chased out with a concrete cutting blade and grinder then filled with a crack filling product, excess crack repair product is also ground back smooth.
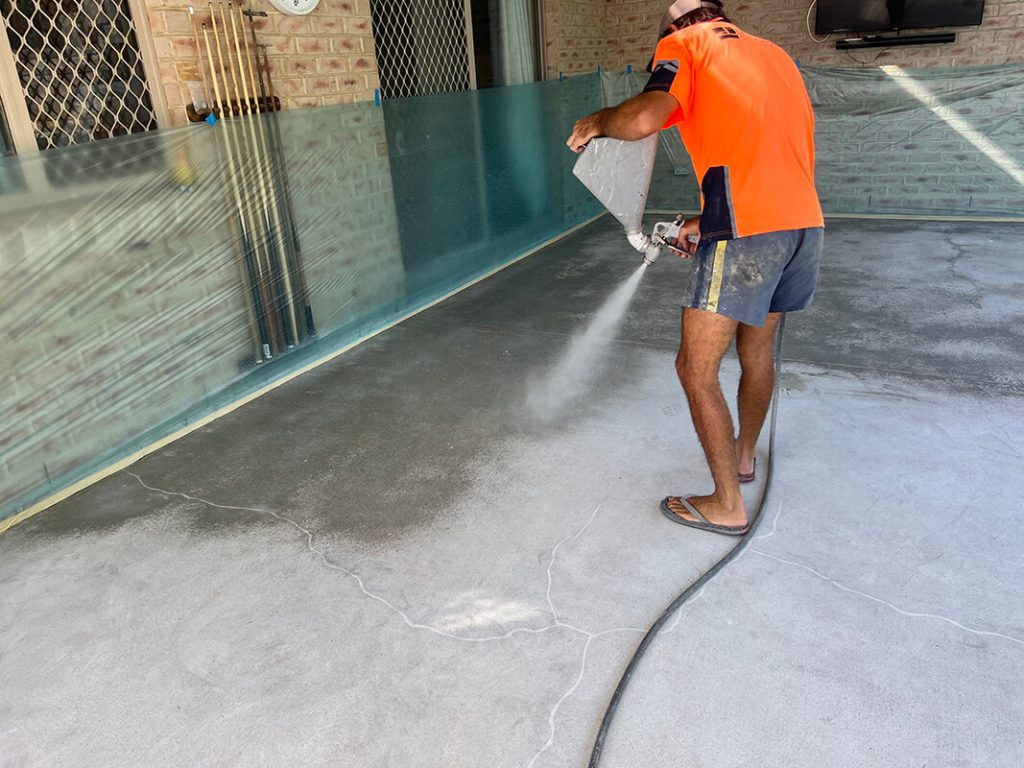
Step 3
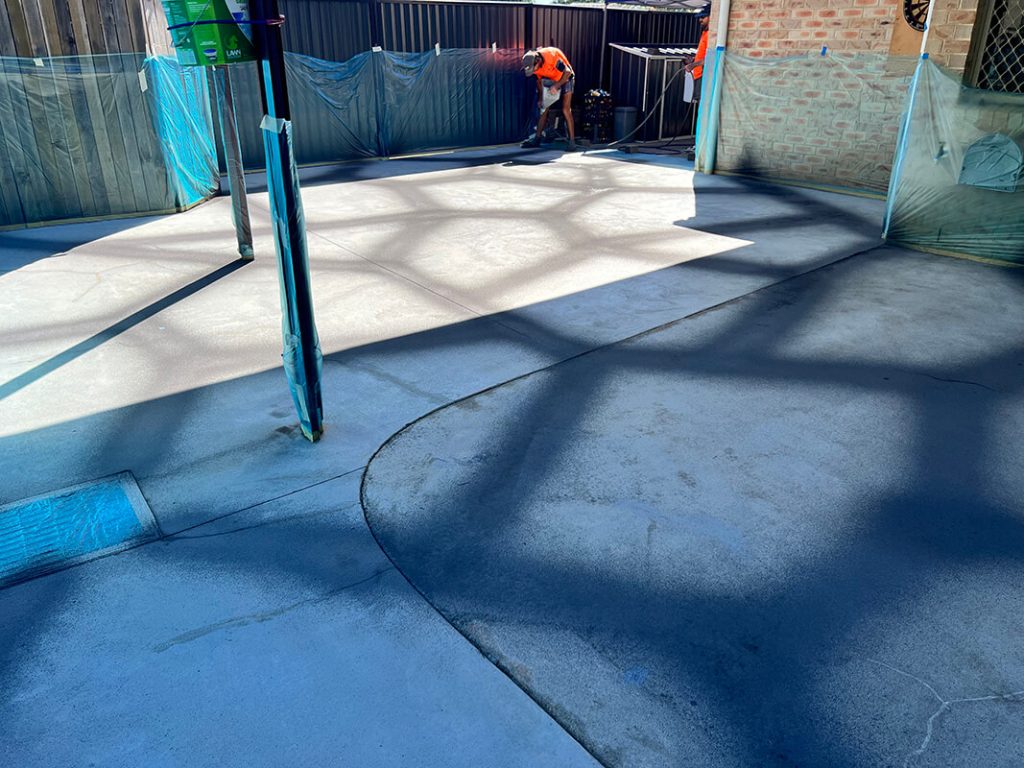
Prior to starting we will spray a polymer primer mix to add an extra sticky surface, ensuring a strong adhesive for the stencil.
Step 4
We will then start getting creative, we will free hand design a unique geometric pattern, no two jobs are ever the same, in this case the grout lines will be black.
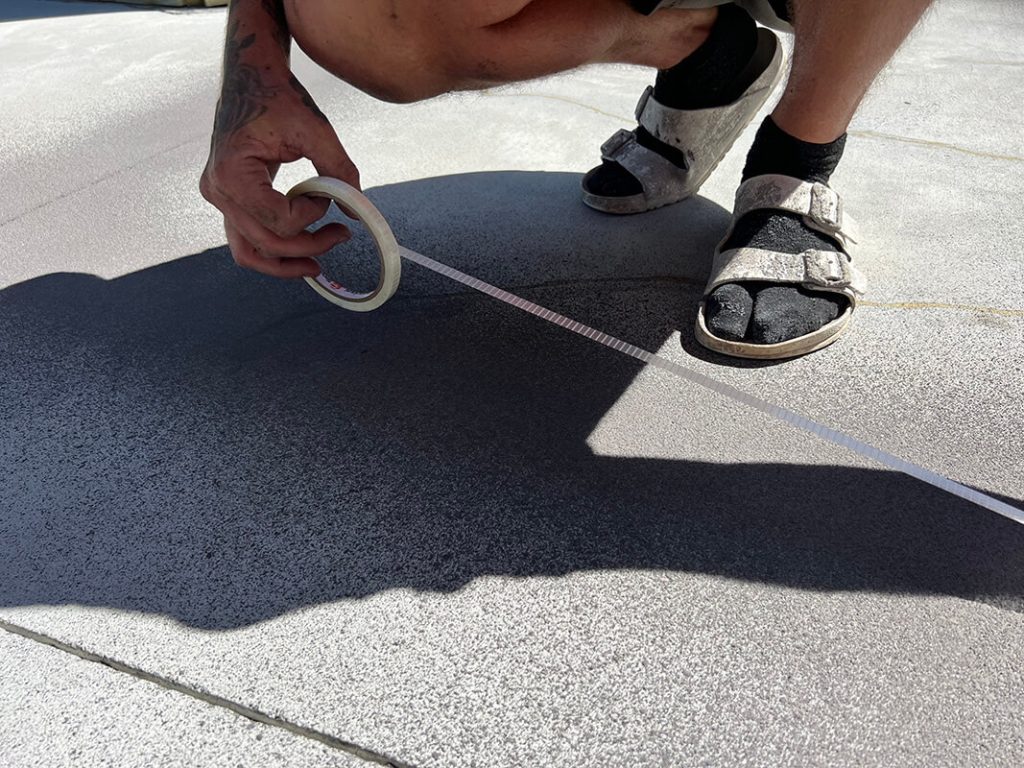
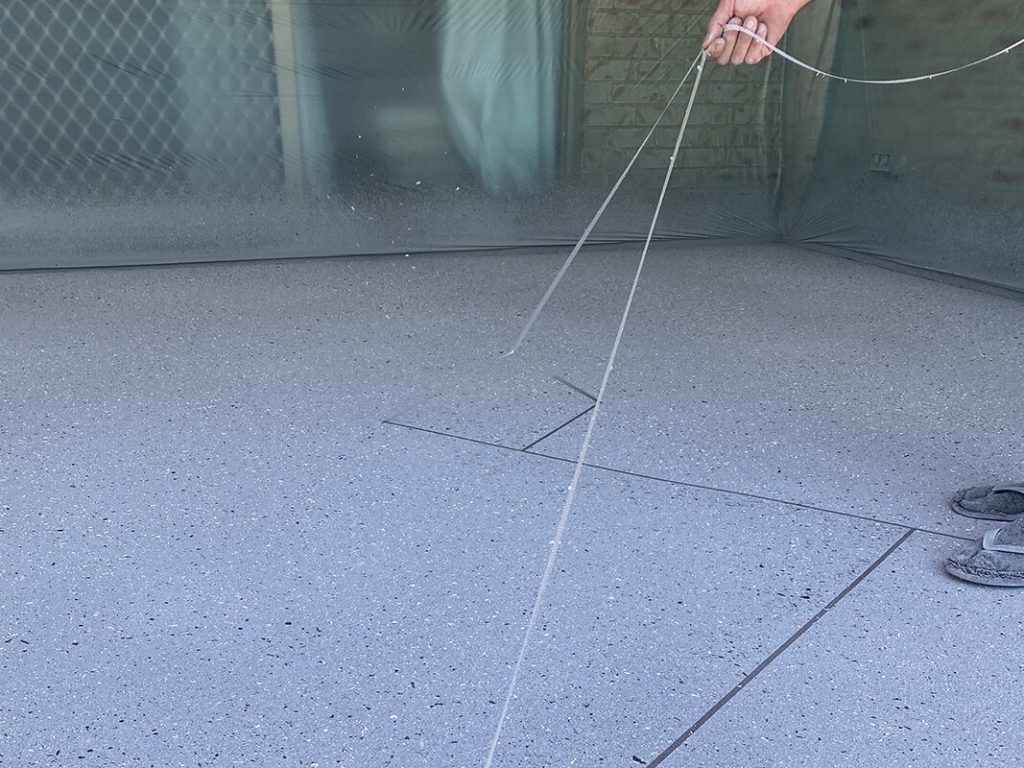
Step 5
We will then use filament tape to tape over the black undercoat, these will be removed later to reveal the crisp black grout lines.
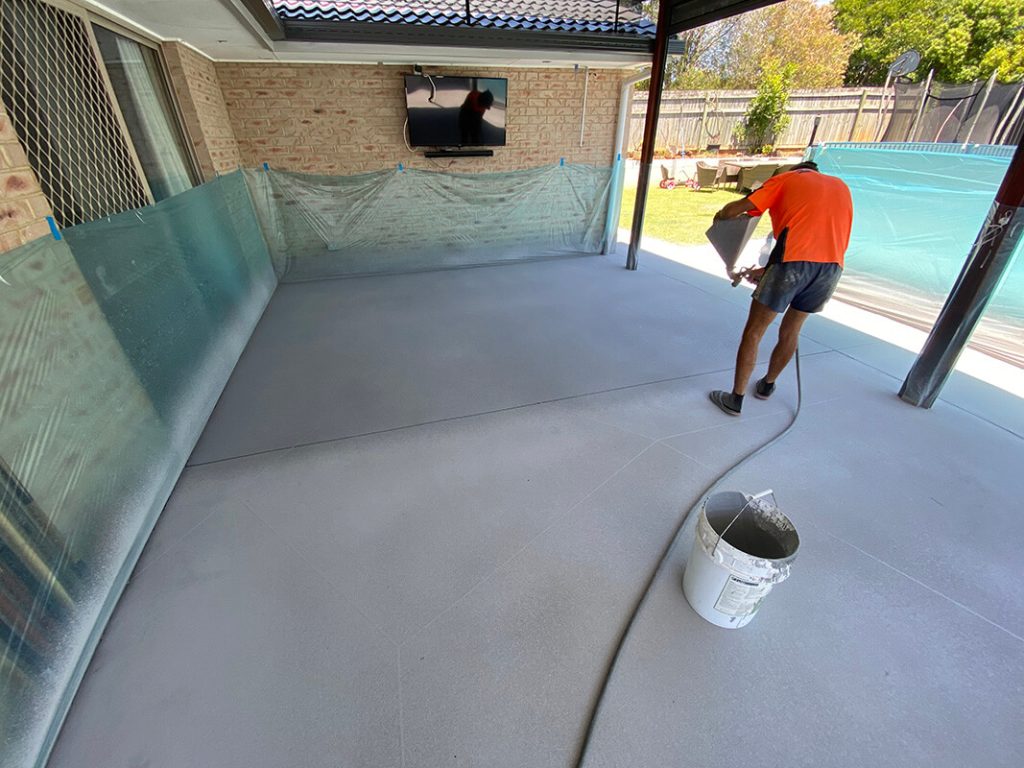
Step 6
We then mix the chosen base colour, in this case that colour is French Grey, we apply two coats of the base colour to give good coverage and texture.
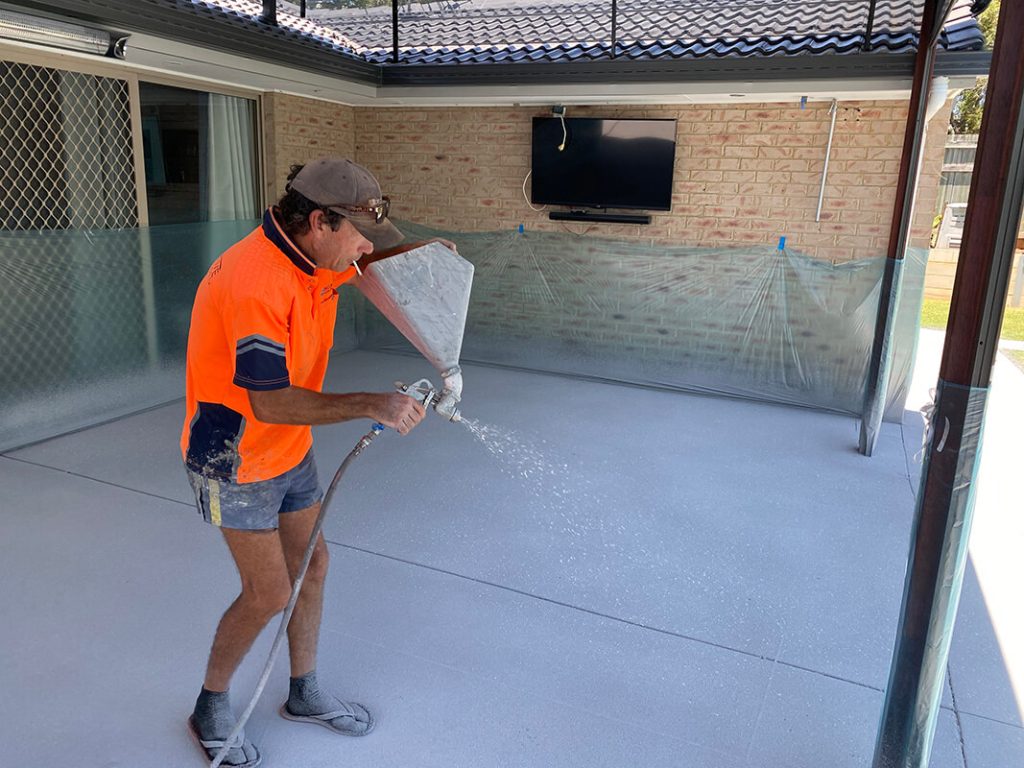
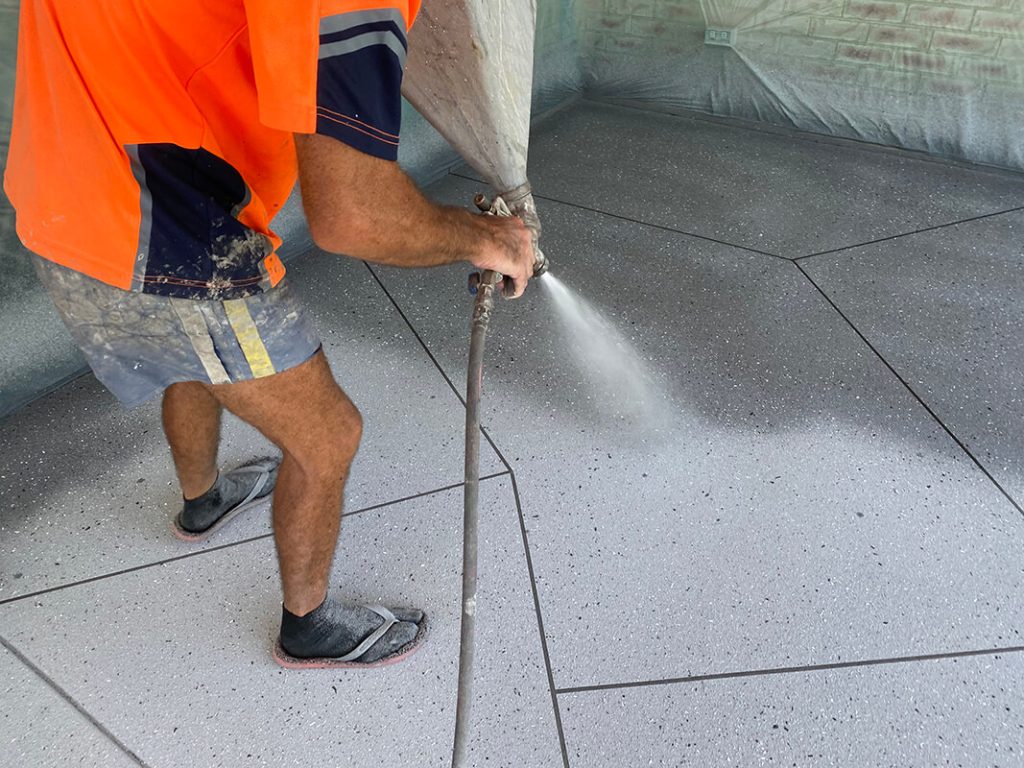
Step 7
Next we will add a black and white fleck as a finishing touch.
Step 8
We will then remove the filament tape that was applied earlier to reveal the black grout lines.
Step 9
Two coats of sealer will then be applied, this will waterproof and protect the newly finished surface while also giving a gloss finish.
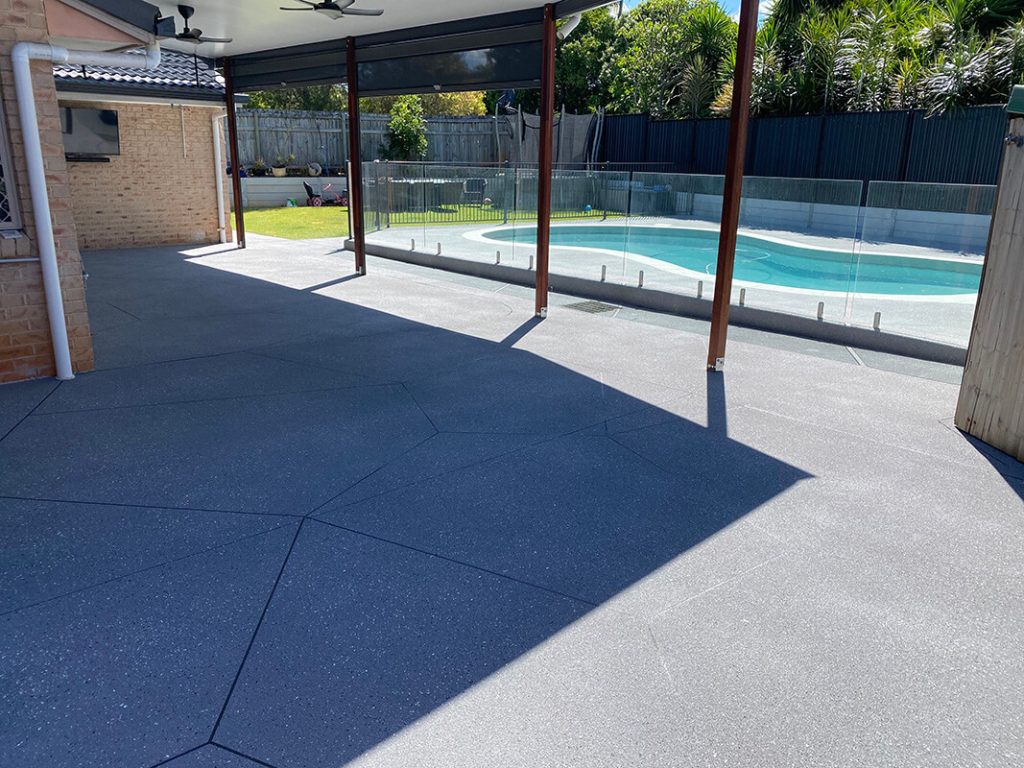
Step 10
And there we have it, another happy customer.